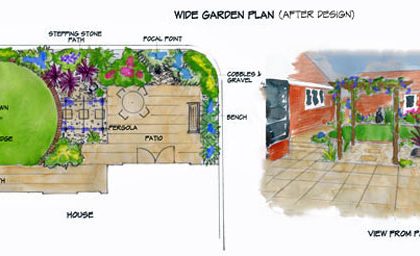
Not all gardens are the perfect square or rectangle, sometimes they are an awkward and odd shape. Don't let that put you off though. There's some really simple steps you
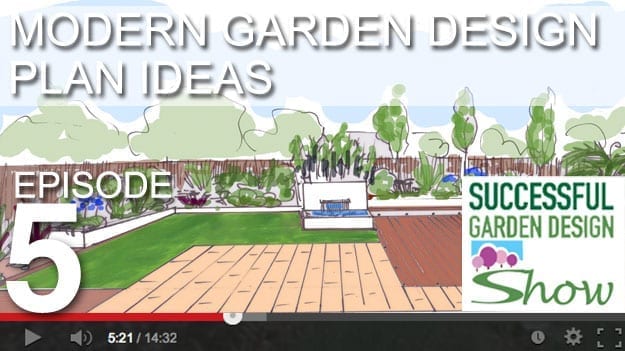
Modern Garden Landscape Plan Ideas
In this episode, Rachel will share the secrets of creating a modern style garden. She will discuss how to use the "Less is more" method to
This Garden Design Show episode features the second quick-sketch challenge. In ten minutes or less, designer Rachel Mathews will come up with as many landscape design ideas as she can
Episode 3 - Creating an edible, modern garden
Creating a garden that is full of edibles AND looks good, can be quite a daunting challenge. In this episode, landscape designer, Rachel
Plant Colour Schemes
In this video, Rachel will talk about colour schemes and stunning colour combinations without having to know anything about colour theory.
Rachel first features her parent's garden from last
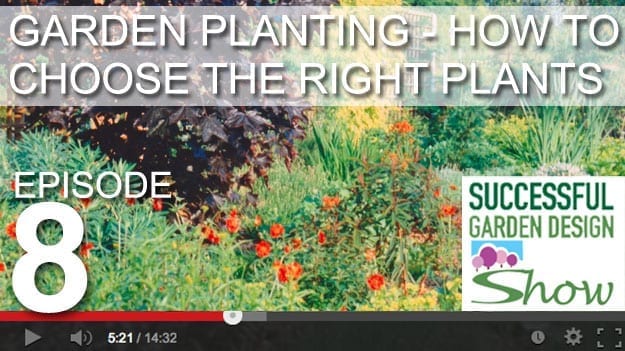
In this episode, professional, international garden designer Rachel Mathews will discuss her tricks of the trade for choosing the right plants for your garden.
Learn how to avoid the BIGGEST planting
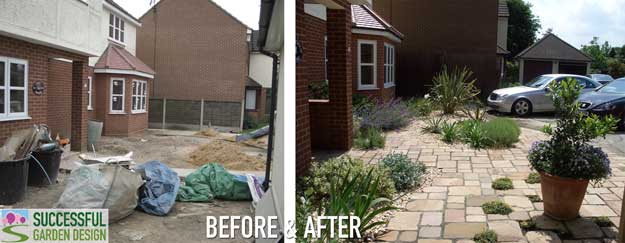
Front gardens can be difficult to get right because often as not, they have to be functional, to accommodate the car and driveway or utility area for bins.
Just because a
When it comes to garden design, some gardens are definitely more challenging than others. A particularly tricky one is the long narrow side garden, which often ends up as a
Some people love having a completely blank canvas they can create their dream garden on. Others, feel overwhelmed by the emptiness and don't know where to start.
You MUST shape the